
So now I am ready for Part 7 which will come out tomorrow morning. Bonnie at Quiltville is just moving us right along with this mystery. I can't wait for it to all come together.
Sew til next time......
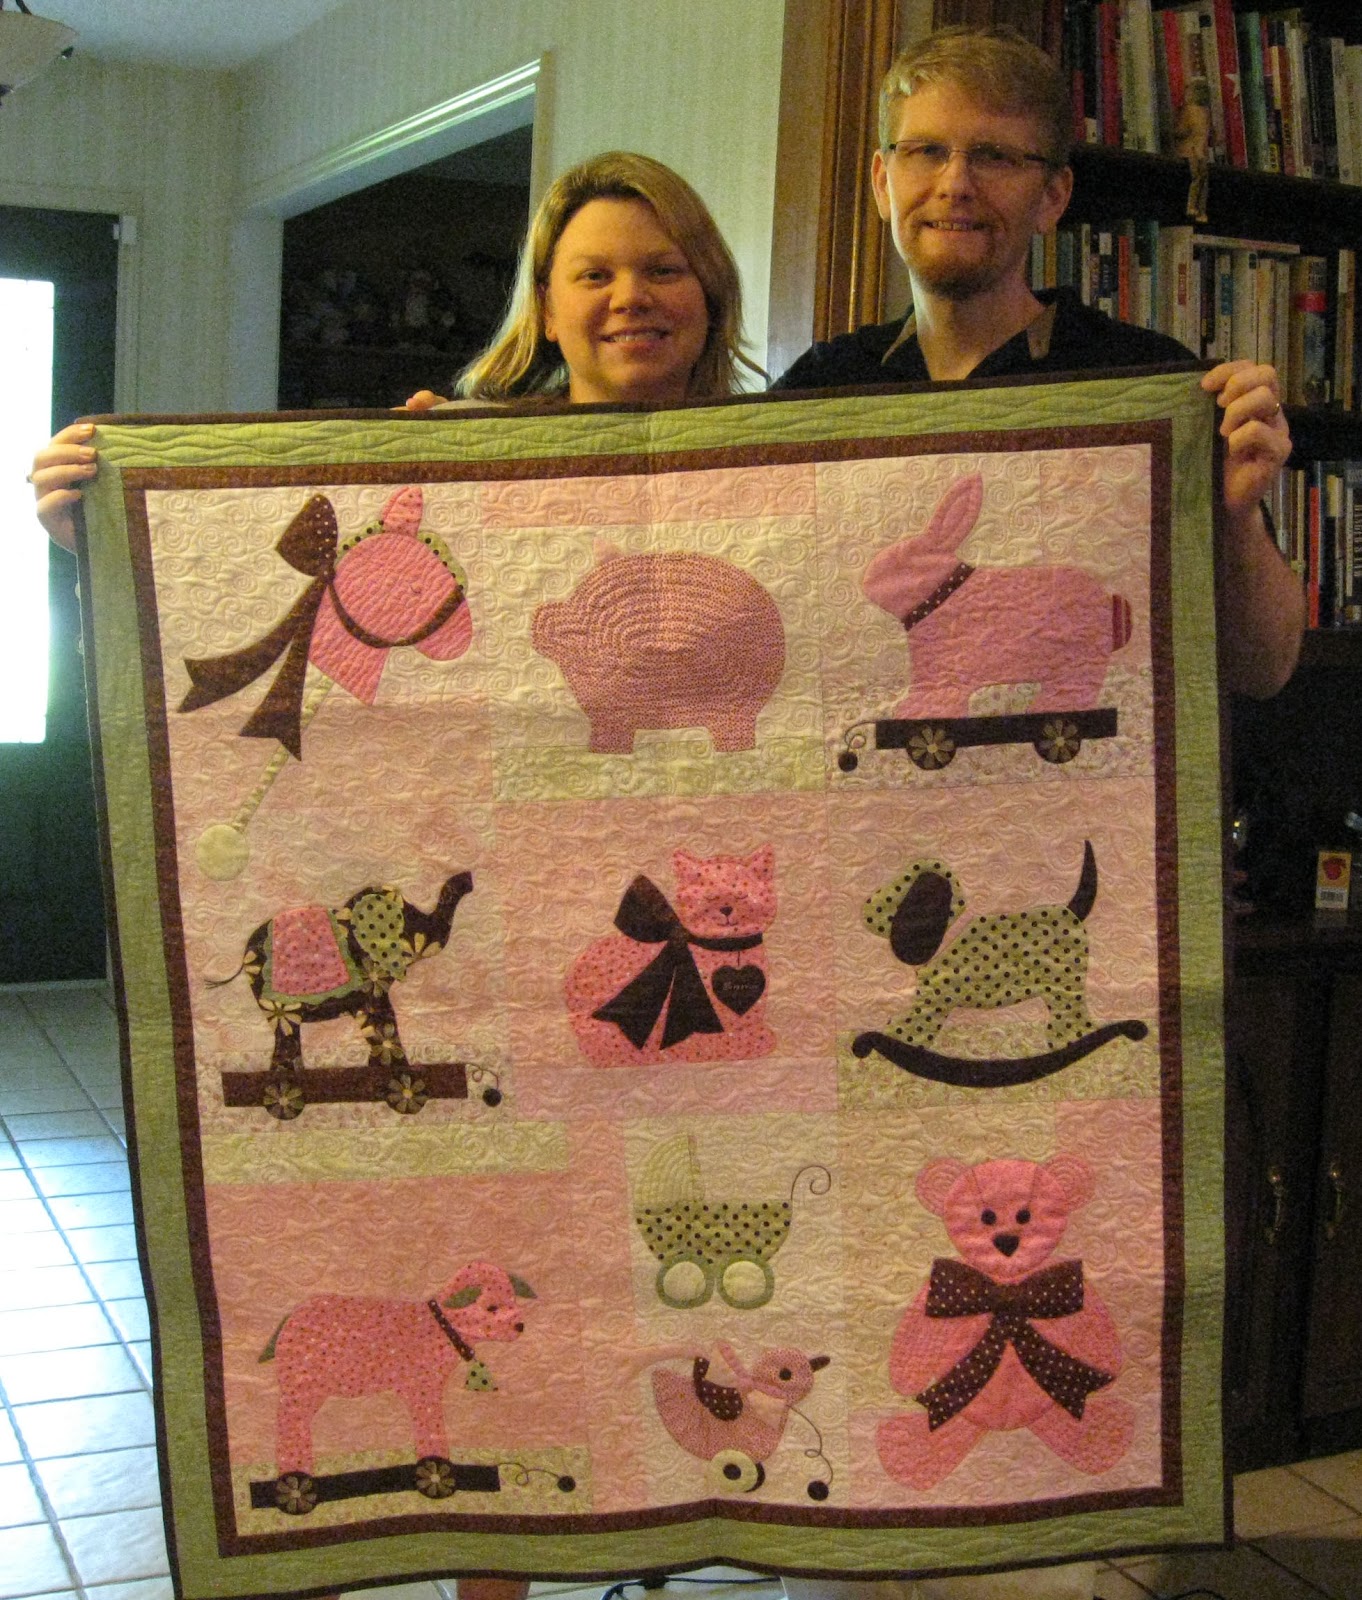
- Posted using BlogPress from my iPad


 I pinned this bag a few weeks ago and couldn't wait to try it, so guess what I made this week-end? I really like it! Nice and spacious and I made different size pockets on both sides. The only thing I have to do is cover a piece of cardboard with fabric for the bottom (that's what I do for all my bags) and start filling it up! Now I will get busy making one for the non-sewer in the family! (You know who you are!)


 Sew til next time............................


