Tuesday, September 10, 2013

I've been sewing for..........

51 years and I do this?


I stitched all 4 pieces with one right side and one wrong side together instead of "right sides" together!! But in the end, I did get it right and got it finished!!


This "Little Wallet" goes together sew fast! I did make one change to the pattern by adding another section 2 and stitching in from each side ( leaving the middle open) and it will be able to hold coins!!


The pattern uses a snap, but I rather have Velcro! I made 2 of these yesterday in 30 minutes or less!!


Sew......till next time............
- Posted using BlogPress from my iPad

Thursday, July 11, 2013

Baby Quilt Given Awhile Back

I made this baby quilt earlier this year and forgot to post it. So simple and fun to make.


I just did free motion straight line stitching.

I don't like to make the same quilt over and over, but I may be making more of these!

Sew till next time!

- Posted using BlogPress from my iPad

Monday, May 13, 2013

I Finally Did It!

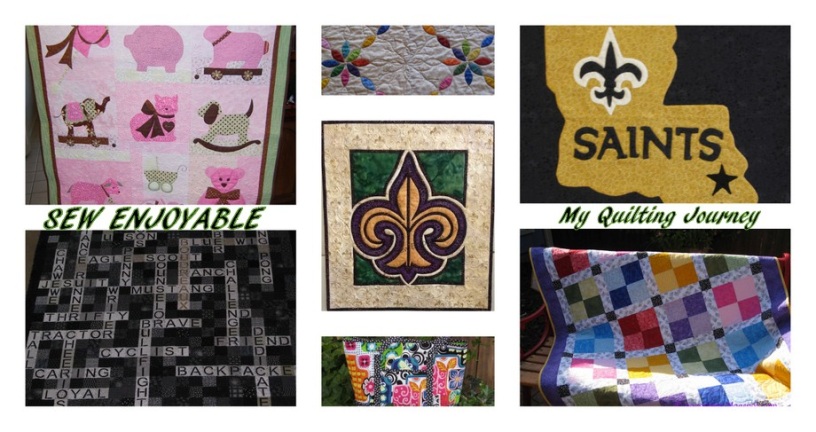
   ....made a photo collage blog banner, thanks to Elisa.  I have been trying to do this for ages, but FINALLY found the right tutorial!  Thanks Elisa. 
 
 
Sew til next time.......

Saturday, April 27, 2013

Quilt Back Tutorial using 4 1/2" fabric strips

I try to always find wide quilt backings on sale, but when I made Memory Quilt #3 I had no blue wide backing in my stash. Guess I had a "light bulb moment" at that point and realized that I had all the fabric I needed in my stash (since I had purchased a bunch to make this quilt!). I just had to put them all together. I've pieced backings before, just never like this. I loved how it turned out so decided to make another backing the same way.

So in case you're interested, here is a little tutorial........

I pulled out purples. All different, lights, darks, some prints, some tone-on-tone, batiks, etc. I cut them 4 1/2" wof ( width of fabric).


Put 2 strips together with a 45-degree angle, marked them, pinned them together and then added another strip to the other end and did this until all the strips were marked and pinned together.


Then brought the whole slew of strips to the machine and chain sewed all the strips.


Next, I cut off the excess and will keep those as bonus triangles!


Took the now continuous strip of fabric to the ironing board and pressed all the seams open.


Then I "accordion" folded the fabric to make it easier to measure and cut into the strips I needed for the width of my backing. Here it is with my bonus triangles.


Here are the strips ready to be sewn together on the long ends. Here is also a peek at 1/4 of my batik stash!


And here is the quilt back!


Sew till next time........

- Posted using BlogPress from my iPad
Monday, April 22, 2013

Memory Quilt #3

This the the third and final memory quilt I made for our great nieces who lost their dad a few years ago.
This is the only quilt that I had to buy a lot of fabric for. Zoe wanted her quilt light blue. Evidently I am not much of a light blue person - hence very little of it in my fabric stash. I bought more fat quarters than yardage so I could have more variety.


I used this block from Quilters Cache. When I started the process of making these Memory quilts, I divided up their dad's t-shirts to make sure I had a variety in each quilt. Then I decided on a different block to use on each quilt and everything after that was unplanned except for a "sailboat" stencil I had found on www.quiltmaker.com. I just sewed and quilted whatever came to mind at that point. It was an emotional journey for me, so I really wanted it to be stress free! I am really proud of what I have done although it did take me longer than I had planned.


I will do a tutorial on my process for the backing in my next post. I love the movement it gives and I think this will become my new way to make backings. It's a lot cheaper than buying wide backings. I get to use my stash instead!


And here is Zoe with her new quilt!

Sew til next time..............

- Posted using BlogPress from my iPad

Friday, April 19, 2013

Wasting Time

What a yucky day! It has been raining all night and is still raining at midday. Really shouldn't complain, we don't have to water the plants for a couple of days now!

So instead of sewing I have been playing around on my blog. I FINALLY learned how to add a banner and put my title on it!! I have another banner that I will hopefully learn how to add a picture to it and I could interchange the two of them. We'll see!

I also changed the font. Please let me know if it is easy or hard to read! I'm on the fence with it right now.

NOW I am going in my sewing room for the rest of the day. Have a good one!

Sew til next time...........


- Posted using BlogPress from my iPad

Thursday, April 18, 2013

Memory quilt #2

I asked the 3 girls what their favorite color was before starting their memory quilts. As you could tell from the previous post, Caitlyn chose purple. Jillian's favorite is ORANGE. I was so surprised at how much orange fabric I had. I only bought one piece for this quilt, only because it screamed Jillian to me!


I did a lot of stitch in the ditch to secure everything because of the weight of the quilt.


Then I just did whatever came to mind. None of the quilting was planned except the "sailboat".
Besides the t-shirt blocks I made, I also chose a different block for each quilt to showcase their dads shirts and khaki pants.


The light colored fabric on the back is the only fabric I purchased for this quilt.


All wrapped up and ready to give.


I couldn't wait for them to come for their Spring Break so I could give it to them. I think she likes it too!
Memory Quilt #3 is coming up soon!


Wednesday, March 27, 2013

Memory Quilts Finished And Given

We have 3 great nieces that lost their dad a few years ago when he lost his short battle with cancer. Their mom asked if I would make them each a quilt from their Dad's shirts and pants. I was so honored to be asked to do this, so I started my journey with Caitlyn's Memory quilt. As you can see her favorite color is PURPLE, so that's where I started. Each quilt had their favorite color, a special block, and t-shirts. I used their dads khaki pants for the backgounds in each block. Rohn, their dad loved to sail, so I found a free quilting template of a sail boat and quilted that on some of the t-shirt blocks. I also used sections of the shirts that were "paint stained" to make some of the blocks. After all, it is a memory quilt!


Memory Quilt


This is the whole quilt.


The yellow block has the quilted sailboat.


Backing and quilt label


Ready to be gifted.


I like she likes it!
One down, 2 more to show. I promise to be back soon!


Wednesday, February 13, 2013

Making Quilt Labels

I needed to make 4 labels today for 4 quilts that I am working on. Actually, I have 2 completed and ready for their label, one is almost finished, and one I haven't started yet, but hope to by tomorrow.
I made the labels using borders and fonts found in my American Greetings program. I ironed freezer paper sheets onto white fabric, cut the fabric the same size as the paper sheets and ran them thru my inkjet printer. I will let the ink dry for a couple of hours, then peel the fabric off the sheets and press with a dry, HOT iron to set the colors. Sorry, I don't have pics of the process, only this one after the printing was done.


......and voila, 4 labels ready to be cut and used!

Sew til next time........

- Posted using BlogPress from my iPad

Friday, January 11, 2013

Easy Street -- Done!

Well, I'm done unless I decide to put borders on!


It was very cloudy outside, so this pic didn't come out so great, so I put it back on the banister and took this pic. These are the true colors.


I am very pleased with it. It was a great "mystery" from Bonnie Hunter. Thanks Bonnie!
Sew til next time..........
- Posted using BlogPress from my iPad